My 3 year old daughter hacked a Google Chromebook
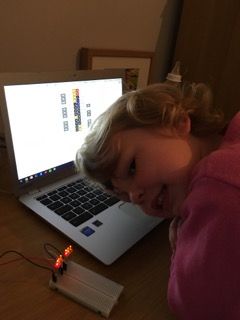
Sienna loves ‘computer science time’ the time when her and I both have daddy and daughter time connecting things up to the Raspberry Pi and making it do fun stuff, like making lights flash, motors spin and playing sounds.

Meet Sienna, she is my 3 year old daughter who loves to make things (and break things). Sienna loves ‘computer science time’ the time when her and I both have daddy and daughter time connecting things up to the Raspberry Pi and making it do fun stuff, like making lights flash, motors spin and playing sounds.
In our house, we think there needs to be more women in tech
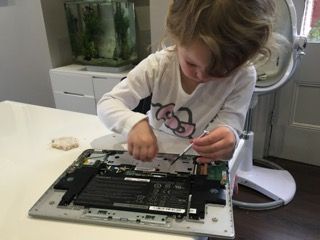
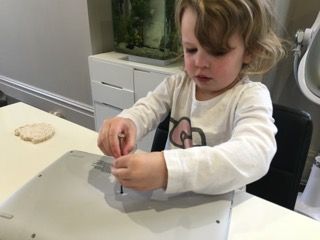
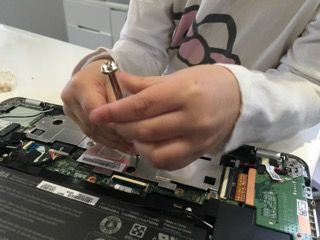
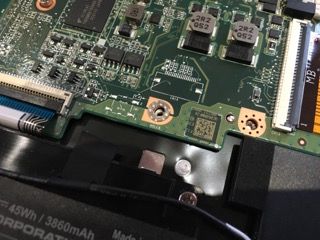
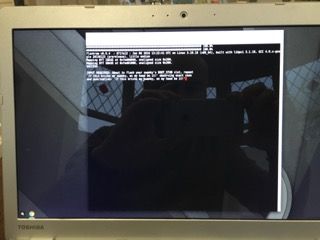
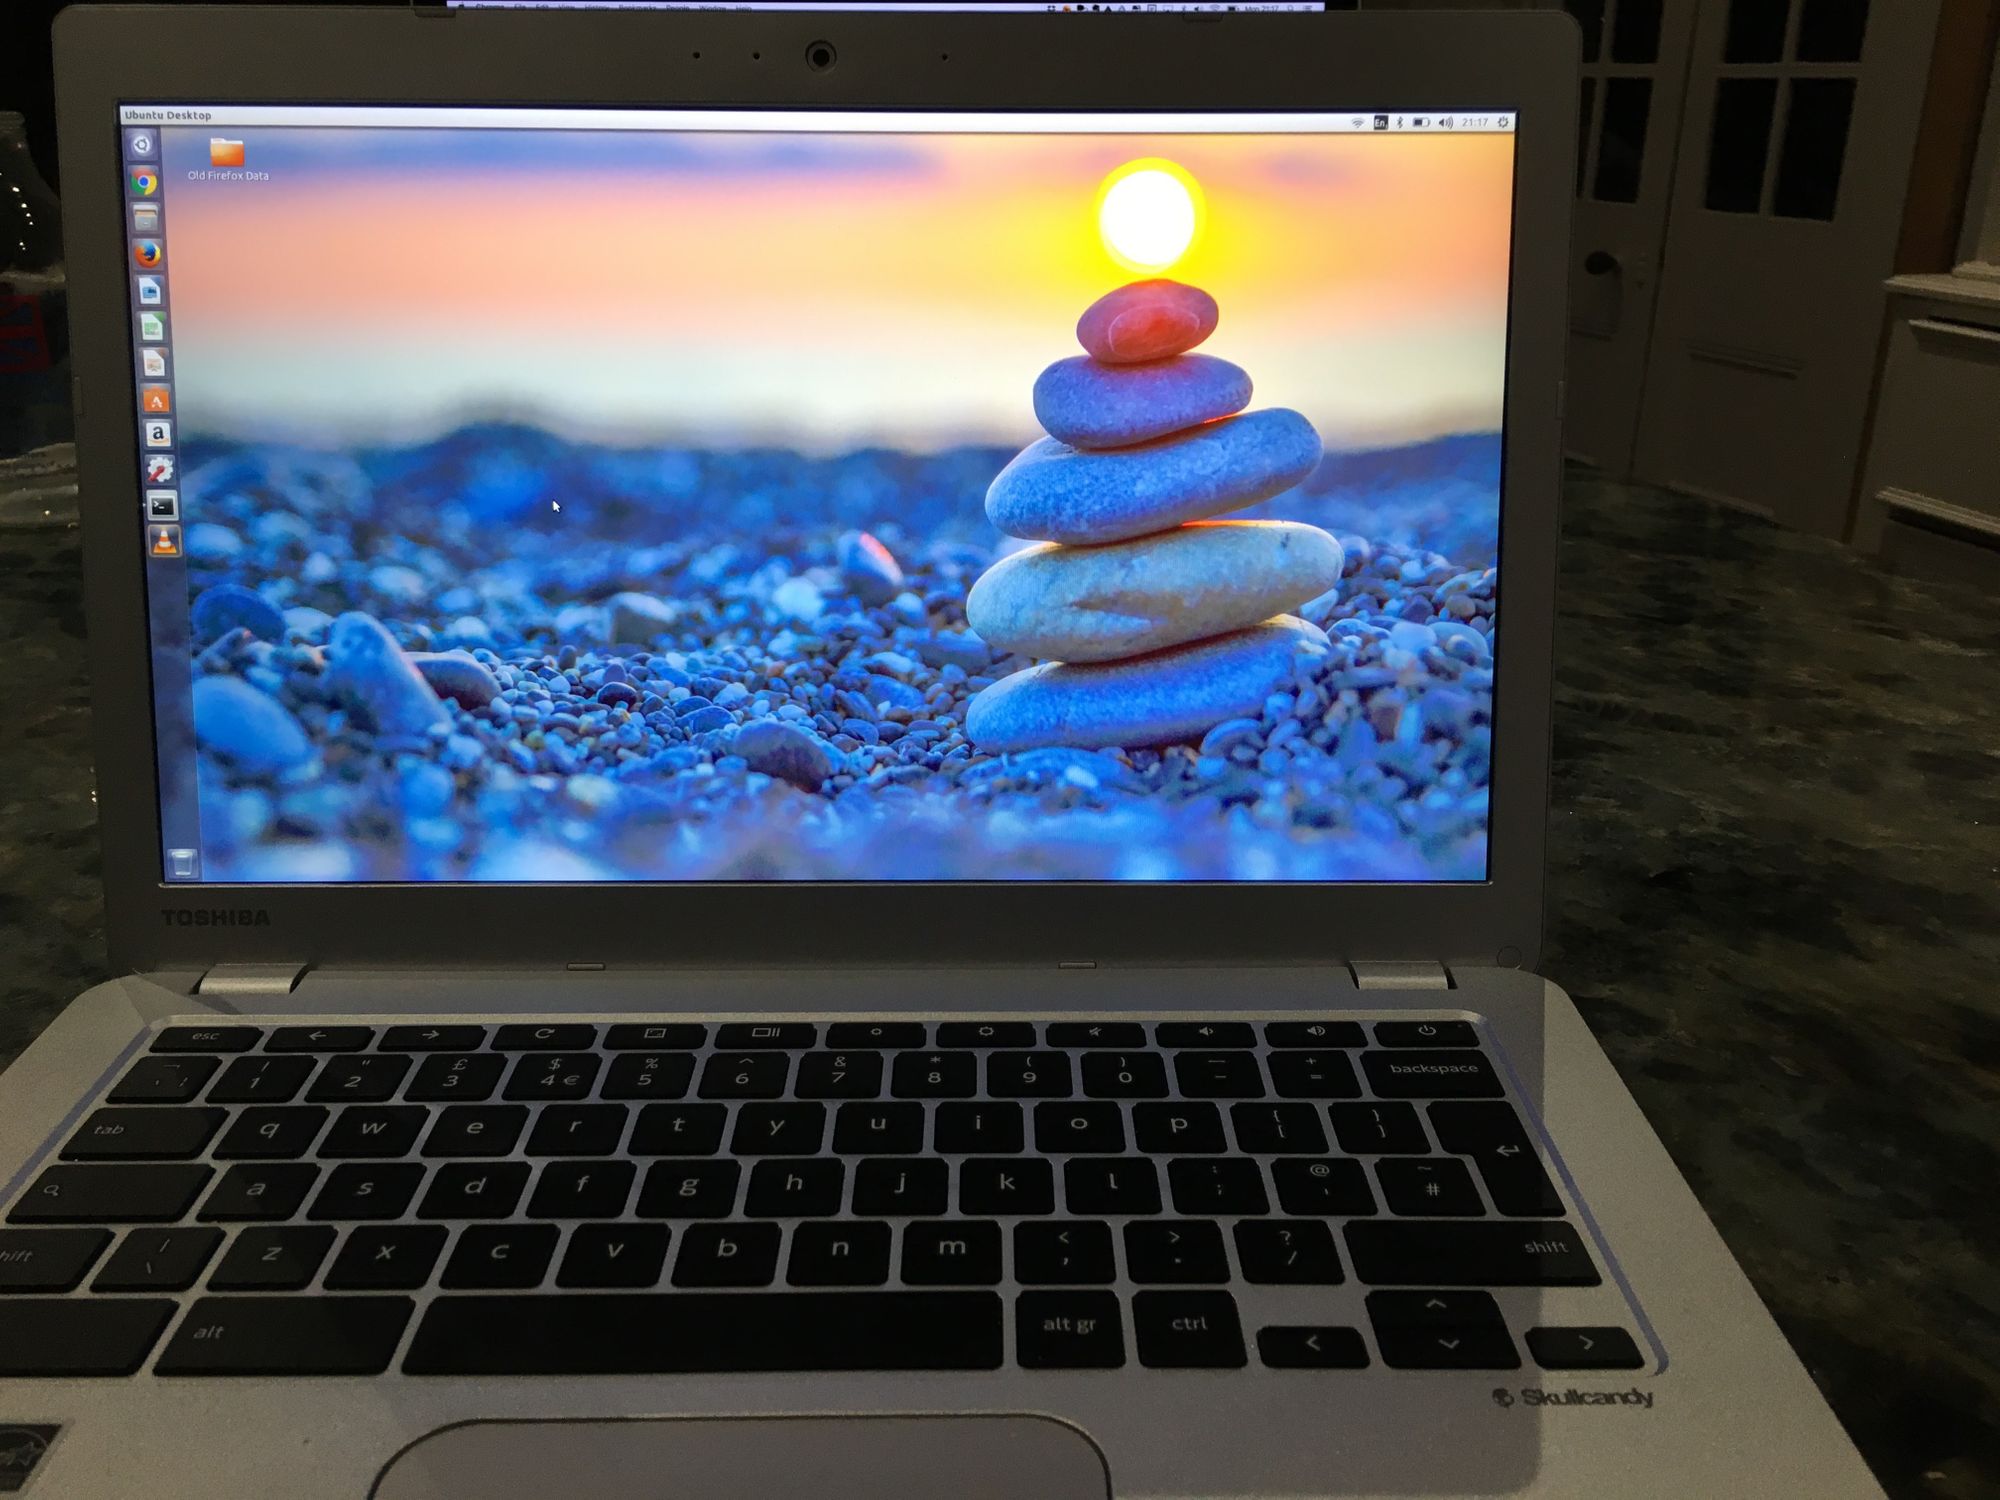
Sienna is a maker, she likes to customise, tinker and learn about how things work. We usually use a Google Chromebook for our experiments but recently she outgrew Chrome OS and needed something more powerful so we can track our source code in git and such things, we decided we needed Ubuntu on the Toshiba Chromebook 2 which is a staggeringly nice device for the money. We looked at Crouton which is kind of awesome and we had it running fairly quickly. But it wasn’t enough, we needed the machine to boot directly into Ubuntu with no warning screens about developer mode and such things, also an accidental button press would restore the machine back to its original state with our customised environment lost.
So we decided to be more adventurous, after talking with Marcus Baw who runs Leigh Hackspace he told us about a hardware hack of sorts that would allow us to install a custom bios and therefore install full Ubuntu on the machine. I talked it through with Sienna, it would need precision engineering skills and total concentration, she said she was up for the task so we went about prepping and reading up from the excellent tutorial over at Fascinating Captain that details how to do this in 5 easy steps.
Show the thing daddy don’t tell
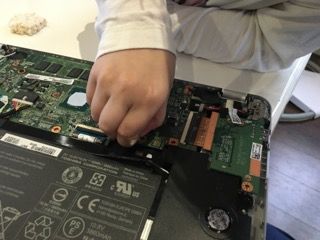
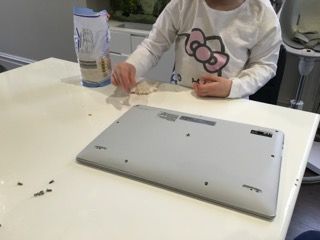
Here she is, tackling this project with nothing but a bit of guidance from her daddy and a rice cake to provide fuel for the job.


So there you have it, another women in tech, showing how it is done. A job well done I think.
P.S Yes that is static whiteboard on the windows, my wife really appreciates us doing that.